Feel free to use some or all of what is included in the Science Bundles and I will do my best to include instructions on each one. You can find these printouts for the Notebook Research Journal at our Teachers Pay Teachers Store!
If you already checked out our blog for the first 7 Modules, thanks for coming back! This section will continue in the same format showing what we did for the last Modules 8 - 14. We also had less items in our folders towards the end since we did do a few culminating activities at the end of the year, leaving less classroom time.
Let me know if you have any questions!
MODULES 1 - 7 Notebooking Pages and Activities can be found here on our TpayT page.
MODULES 8 - 14 Notebooking Pages and Activities can be found here on our TpayT page.
You can also find all 14 Modules in our TpT store HERE.
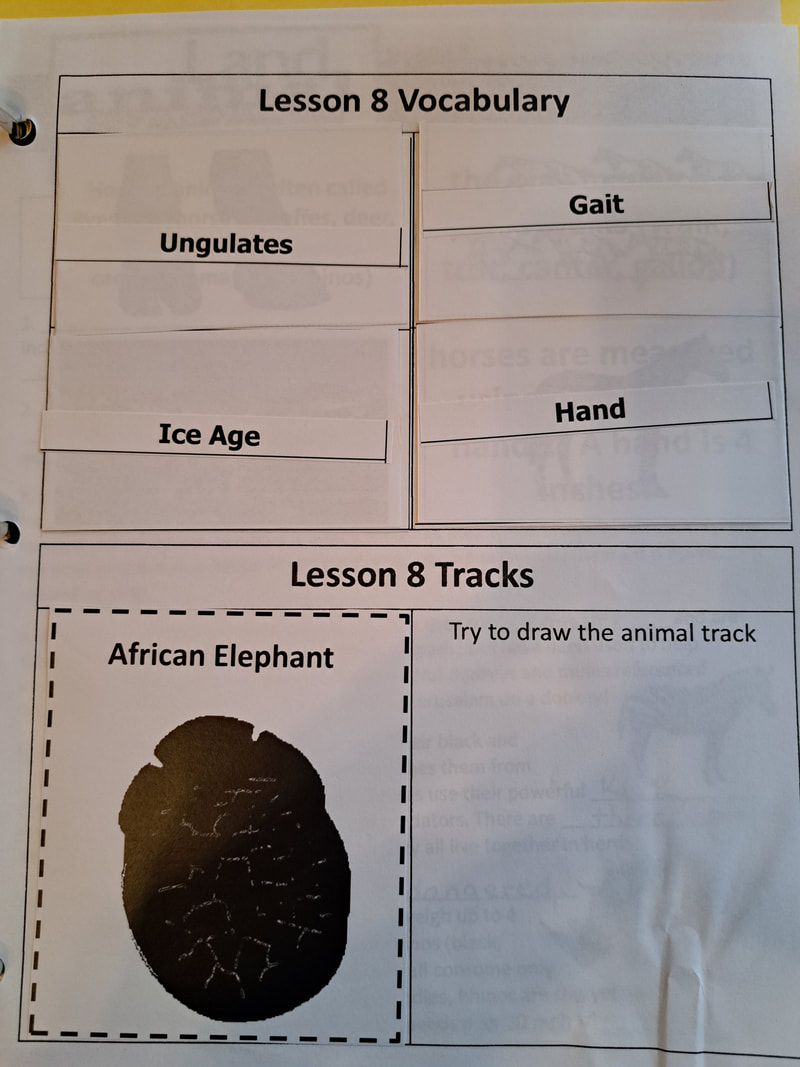
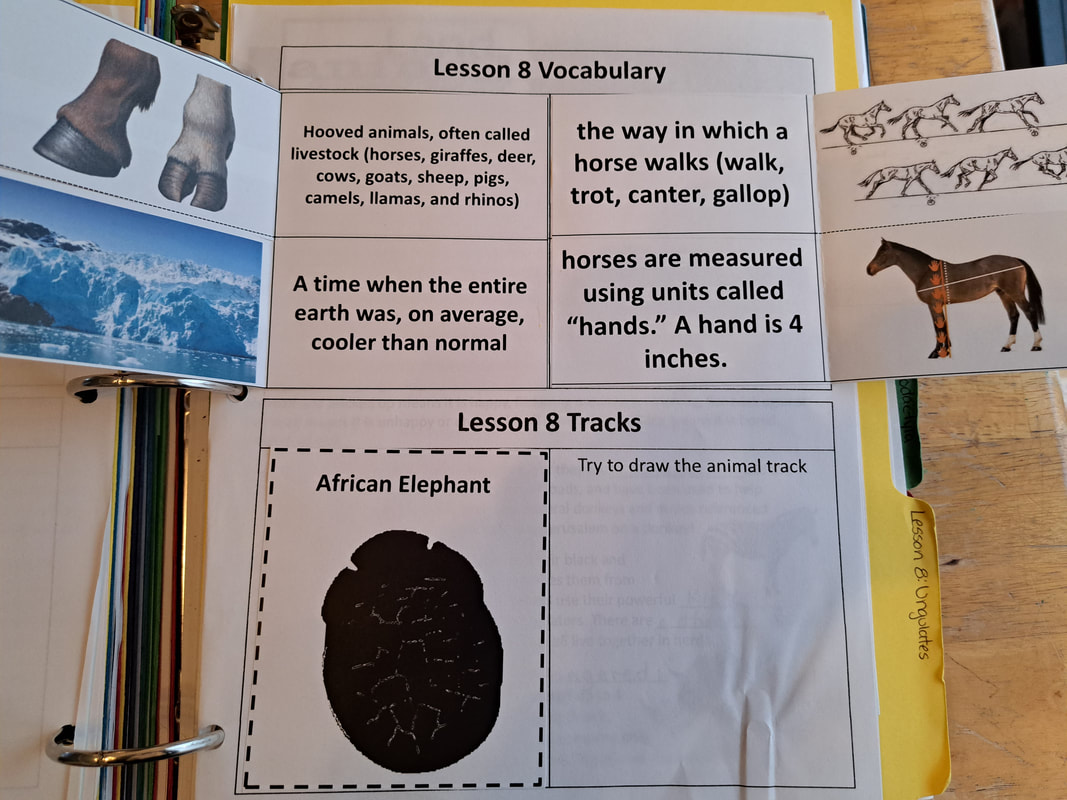
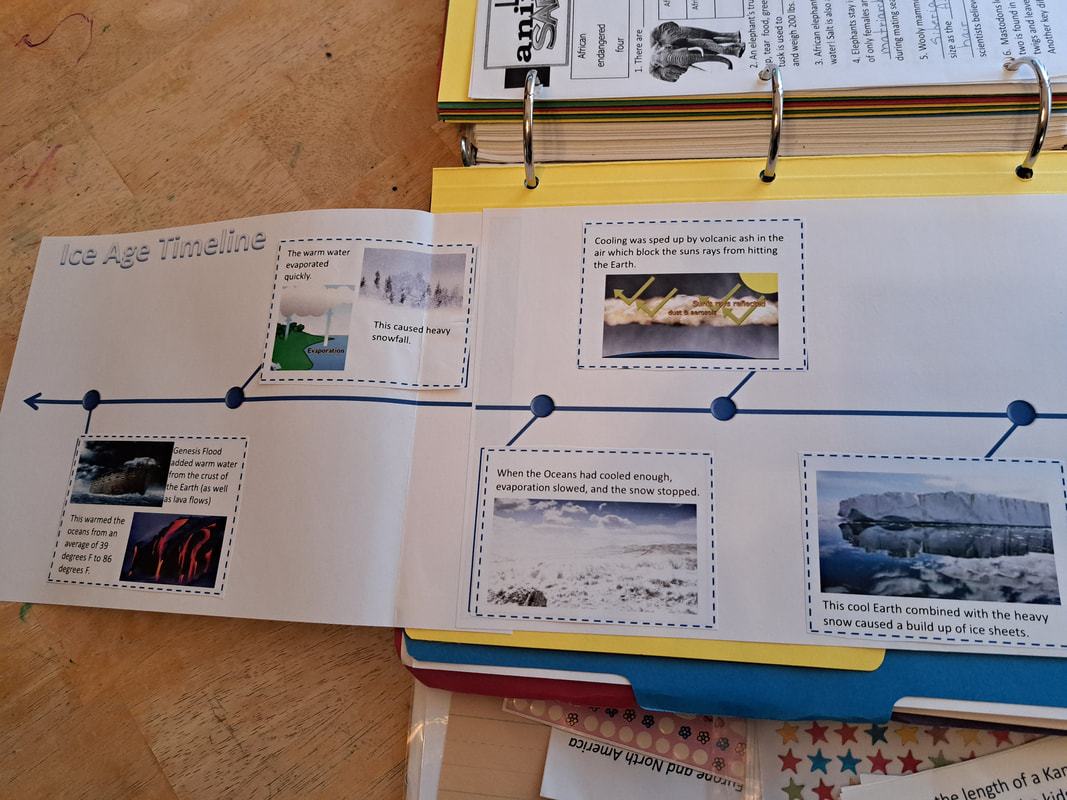
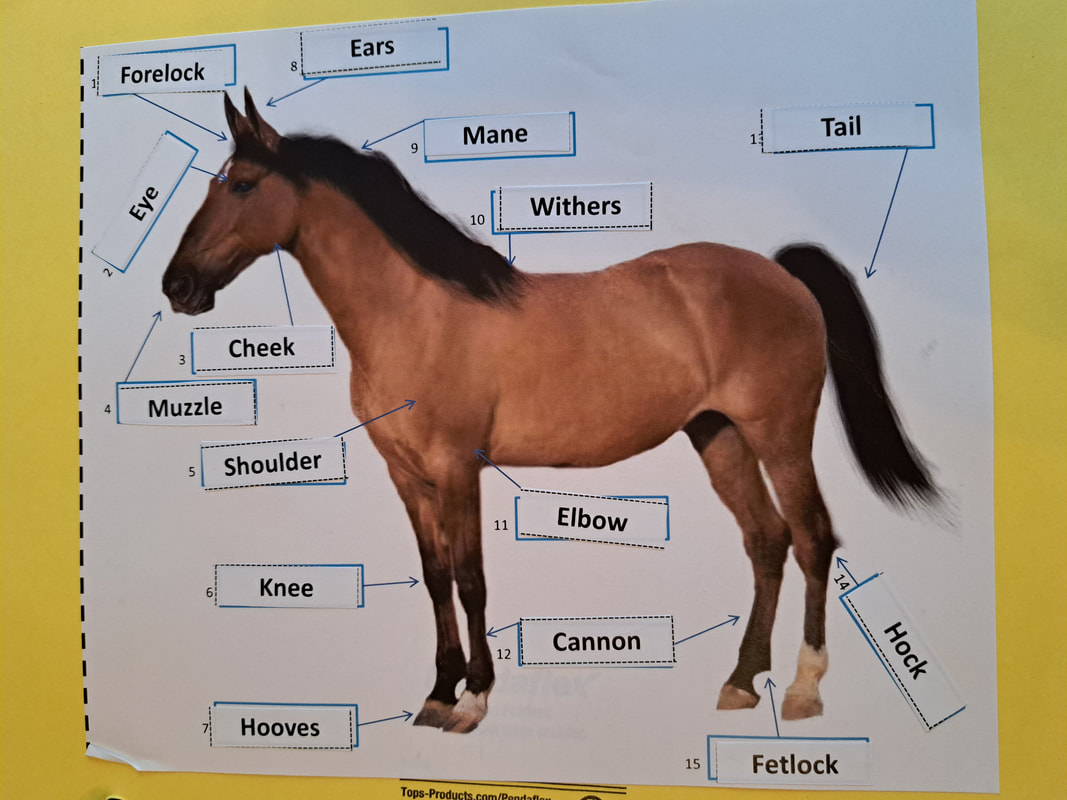
Module 8: Ungulates
Vocabulary - Module 8
|
This lesson began our 2nd Semester. These lessons and activities in our co-op were for grades 1-6. I was teaching grade 4 during this year and we did have assessments and games during some down time.
We like to have fun and enjoy this study so the more we can switch it up the better. The kids also LOVED doing some of the crafts and experiments so feel free to use some of our ideas and add them into your study. The textbook has some amazing activities that we also used. |
Folder Activity Pages - Module 8
Module 9: Other Artiodactyla
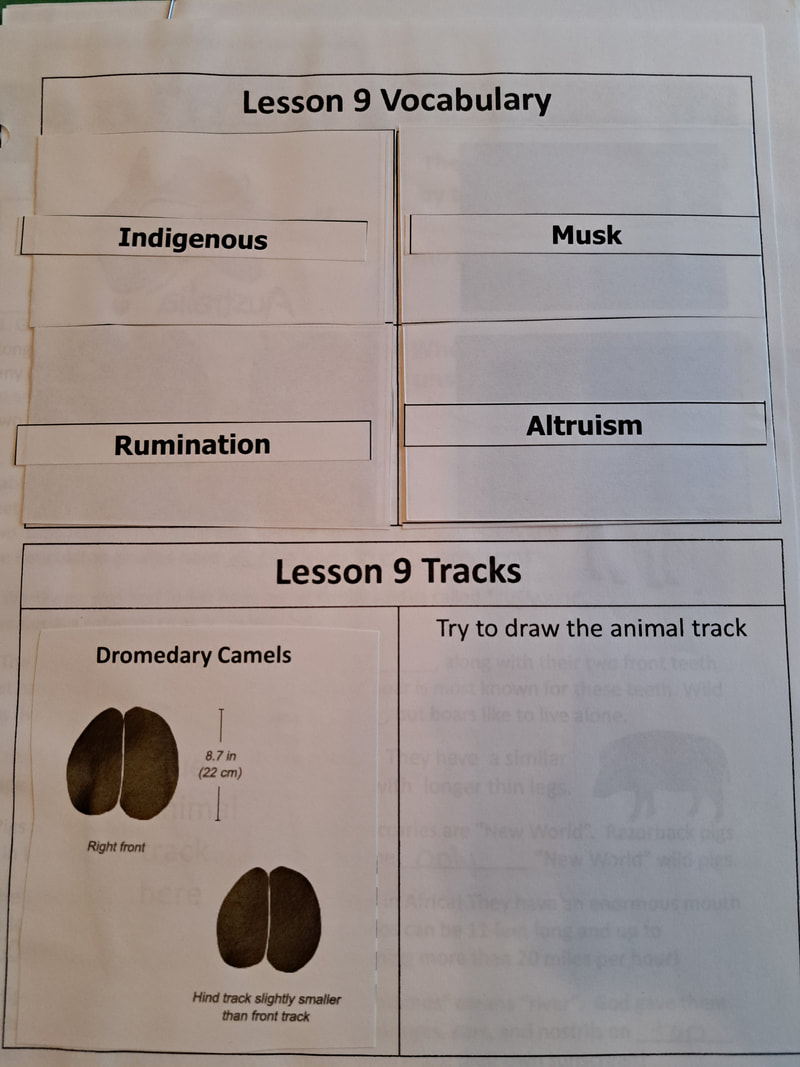
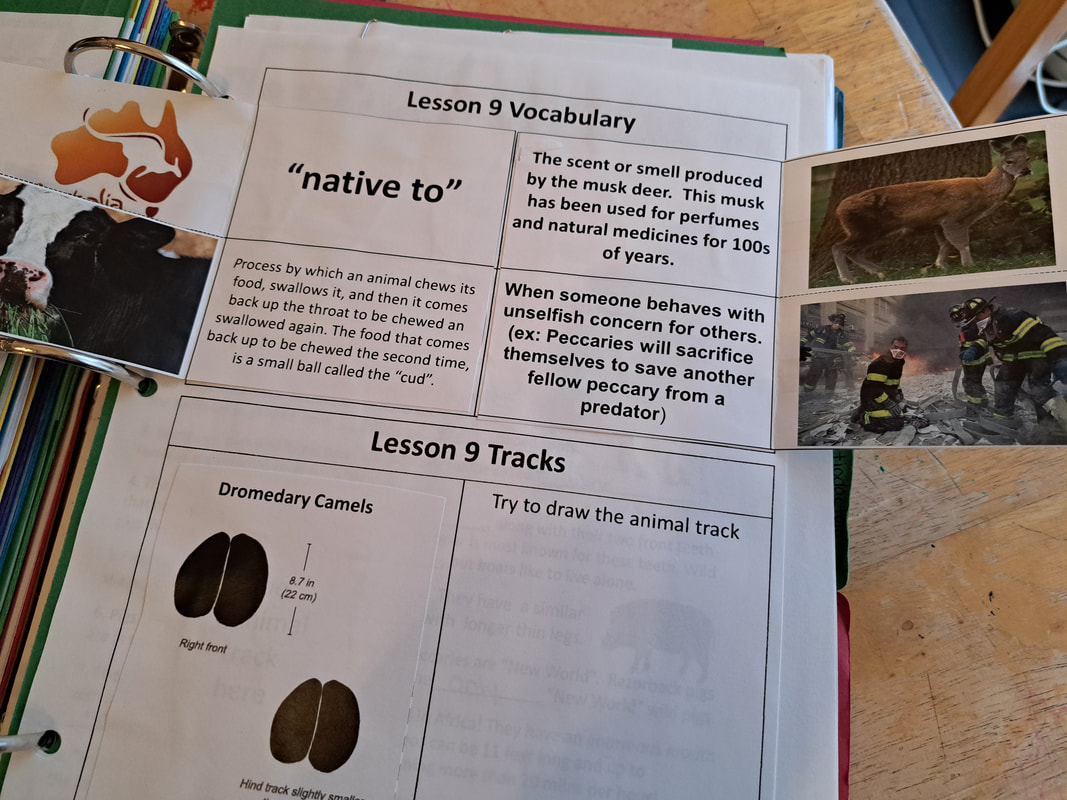
Vocabulary - Module 9
|
During our first week studying this module, we did have some changes to our Research Notepage regarding the camel. So NOTE that on our Notebooking Research worksheet (Lesson 9, pages 151-160) for number 8, we changed a few of the answers to say this:
"The humps are filled with 'fat' so they go a long time between 'meals'. This is helpful as they live in the desert. They can drink up to 20 gallons of water at one time, too!" |
Folder Activity Pages - Module 9
|
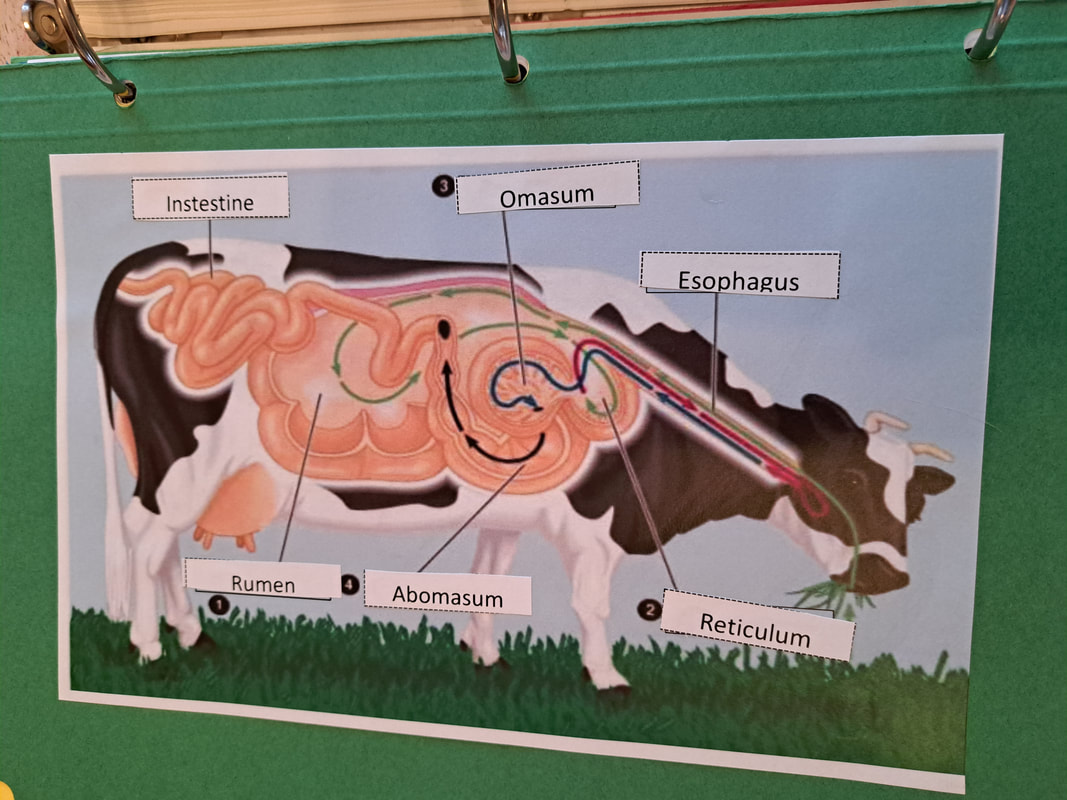
Left Side (above): This diagram shows students the inner anatomy of a ungulate. The cow is in a group called a ruminant. They chew their food, swallow it, and it comes back up (in the form of a small ball called the cud), then they chew it again.
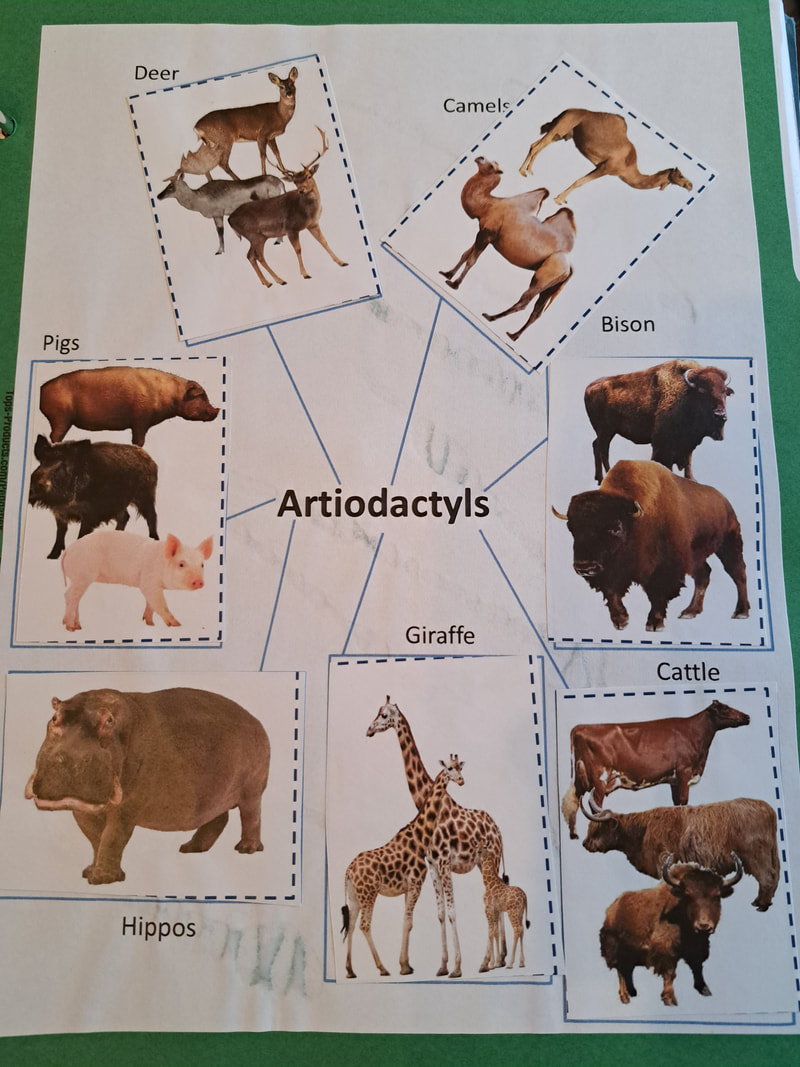
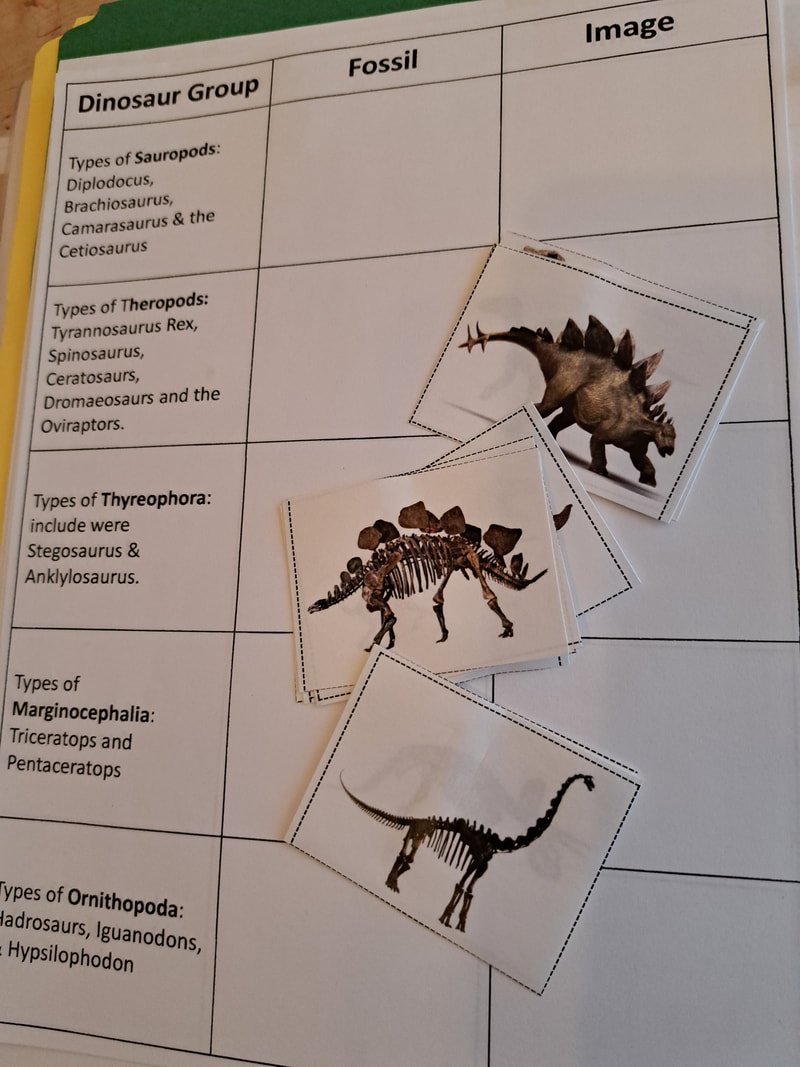
Right Side: Here the students will put the pictures into the correct labeled box on the worksheet. The organizes the different groups from the chapter reading. |
Module 10: Squamata and Rhynchocephalia
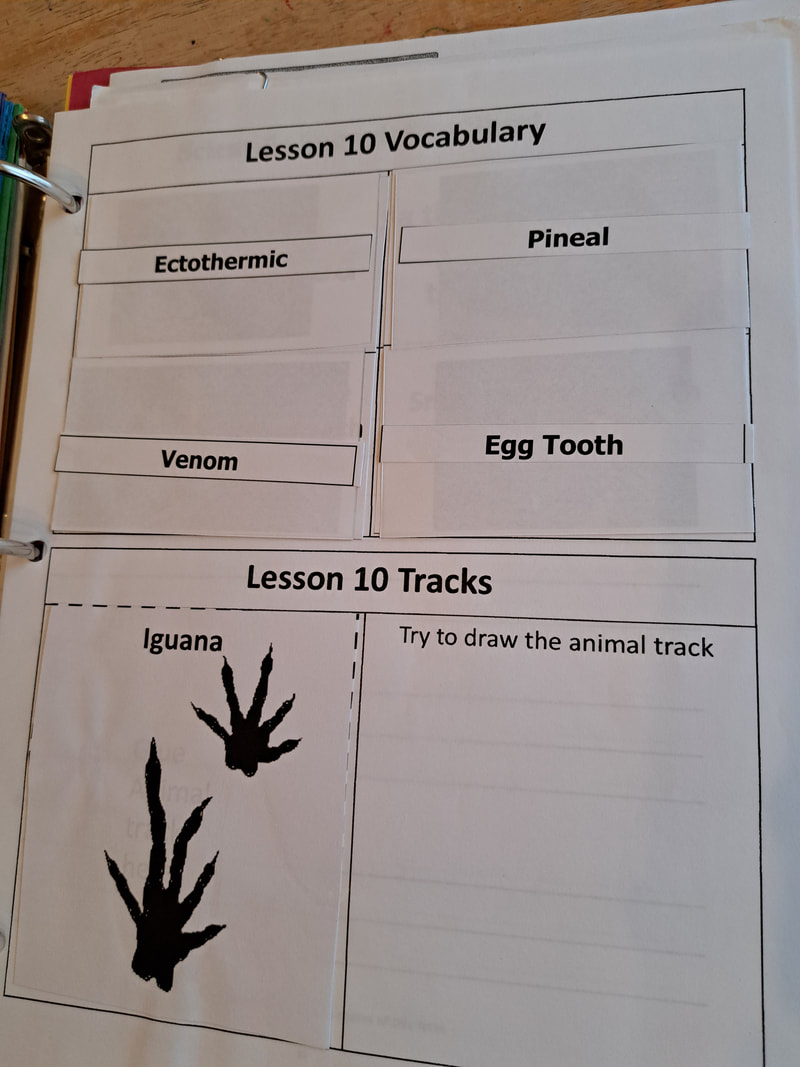
Vocabulary - Module 10
|
The word reptile comes from the Latin word meaning "to creep". So this module includes animals such as the lizard, turtle, and snake.
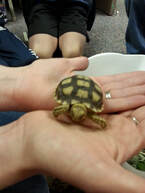
Some of these chapters have animals that are easily accessible to our area. So field trips or classes where live animals can be brought in are super cool! We had a baby turtle for one of these weeks so the students could have a live presentation going over all the turtle's characteristics while being able to see and hold the cute animal. |
Folder Activity Pages - Module 10
|
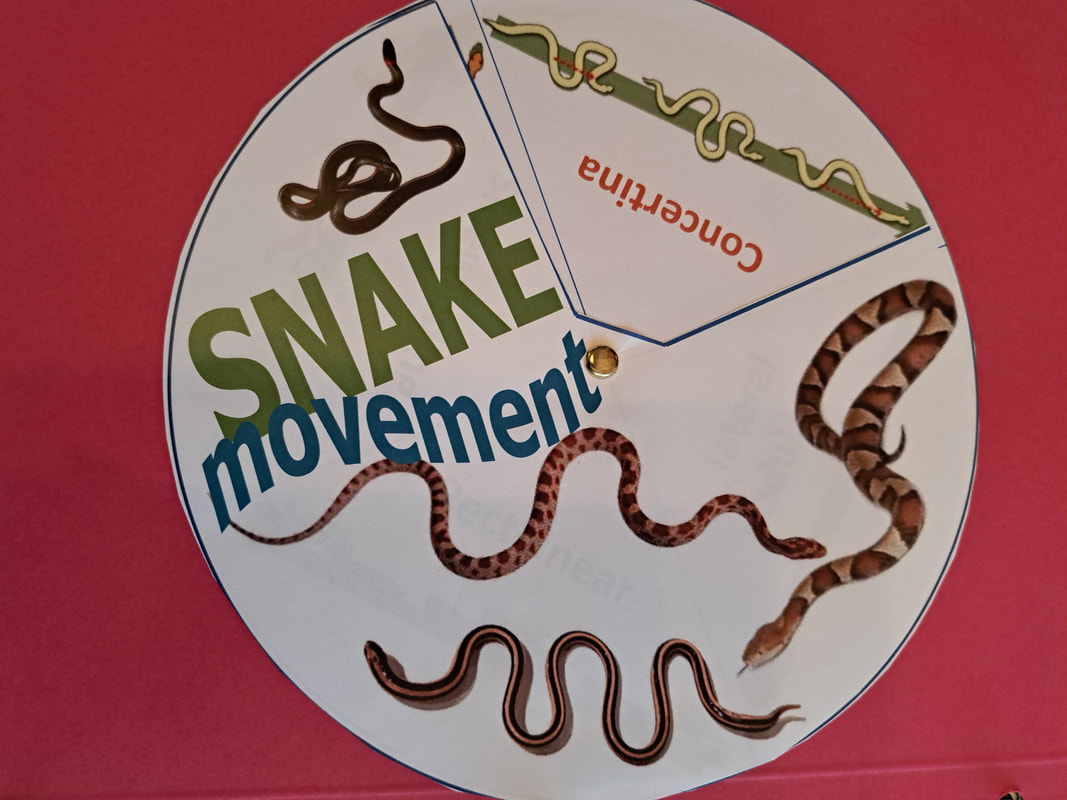
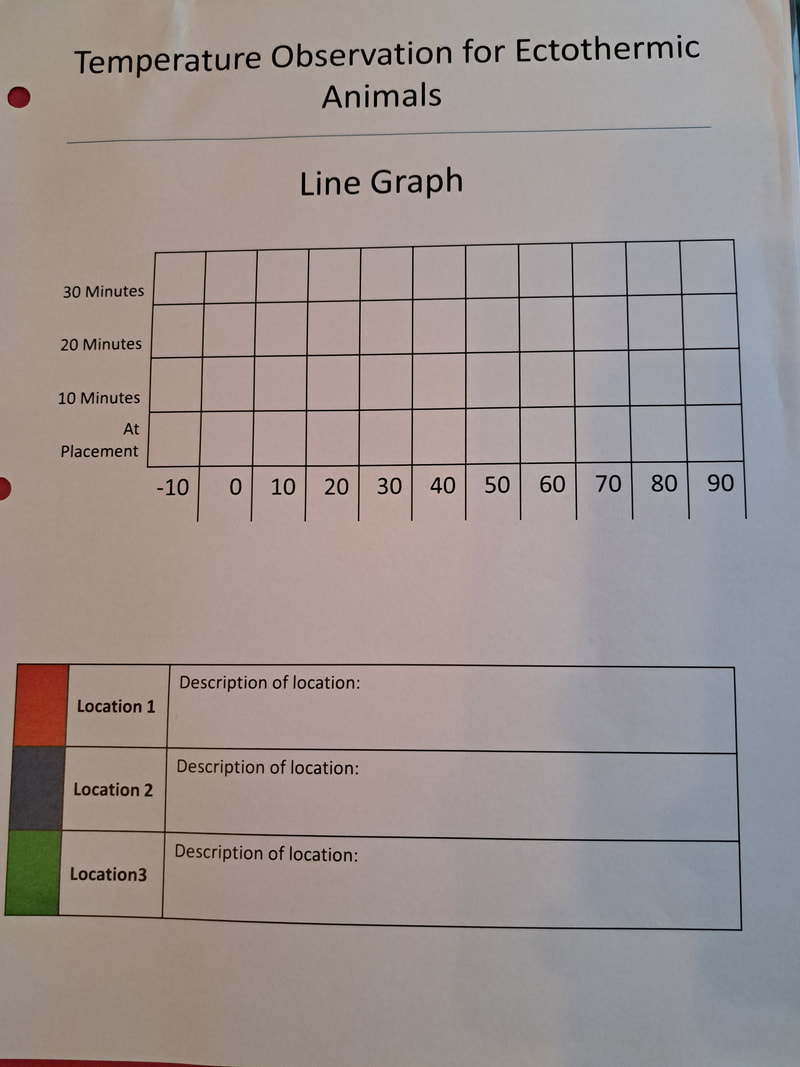
Left Side (above): We try to make sure the activity pages for our Research Journal have a variety of things. This Module we used a learning wheel on the left side and a line graph on the other. So make sure you have some brads on hand for the 1st week.
The wheel was showing the four snake motions (lateral undulation, concertina motion, rectilinear motion, and sidewinding motion on pages 176-177 in the textbook. The kids thought it was fun to slither these ways down the hallway. |
"Where would be the best place for a snake to lay to get to the right body temperature?"
Most species prefer to maintain body heat at about 86 degrees F...but the temperatures can range from 50 - 104 degrees F.
-Set a Thermometer in 3 different locations.
1. In the direct sun
2. In the shade
3. Under a bush
-Record the temperature, and again at the 10, 20, 30 minute marks. Then based on your findings, decide which spot would help the snake get to the proper temperature or if they would need to move between locations.
-You need 3 thermometers, 3 colored pencils (red, blue, green), a ruler, scientific speculation sheet, and a graph.
Module 11: Reptiles and Amphibians
Vocabulary - Module 11
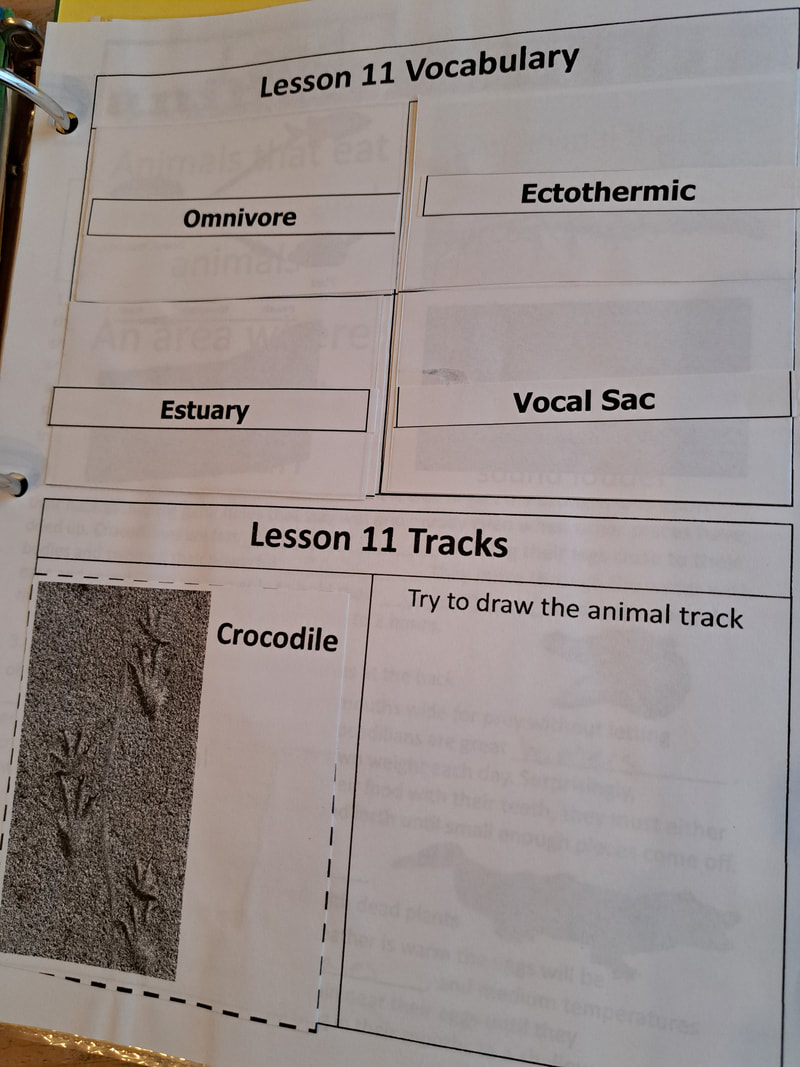
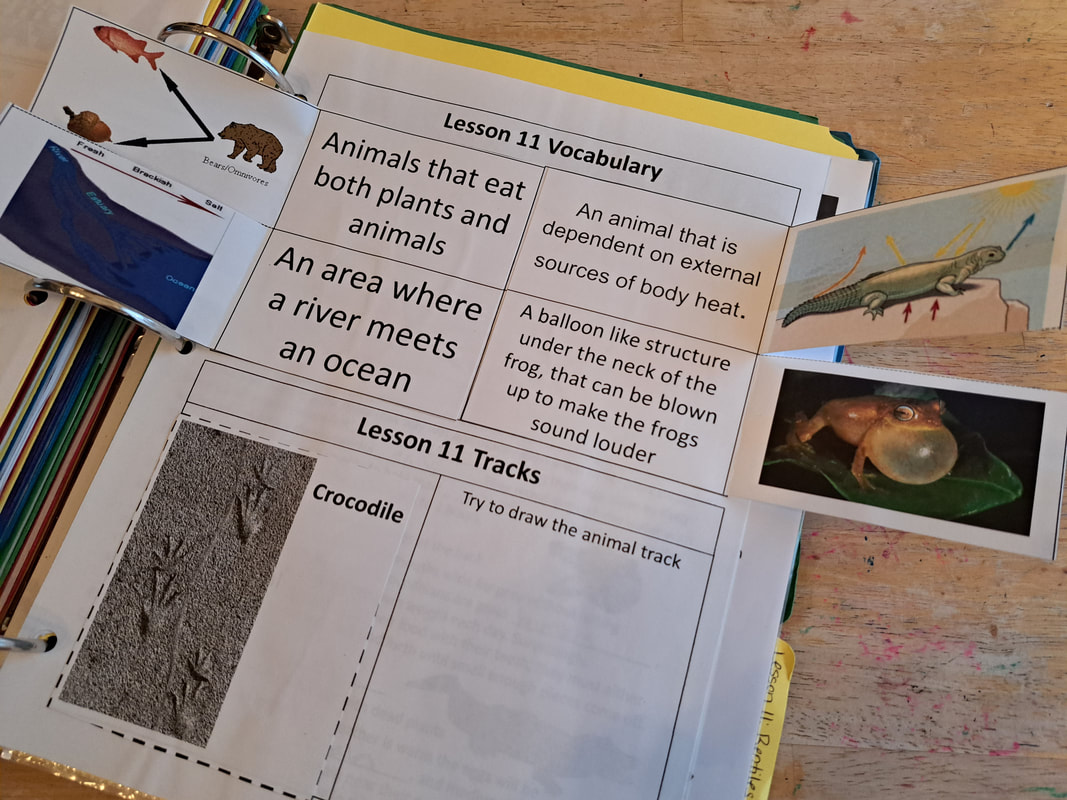
Folder Activity Pages - Module 11
|
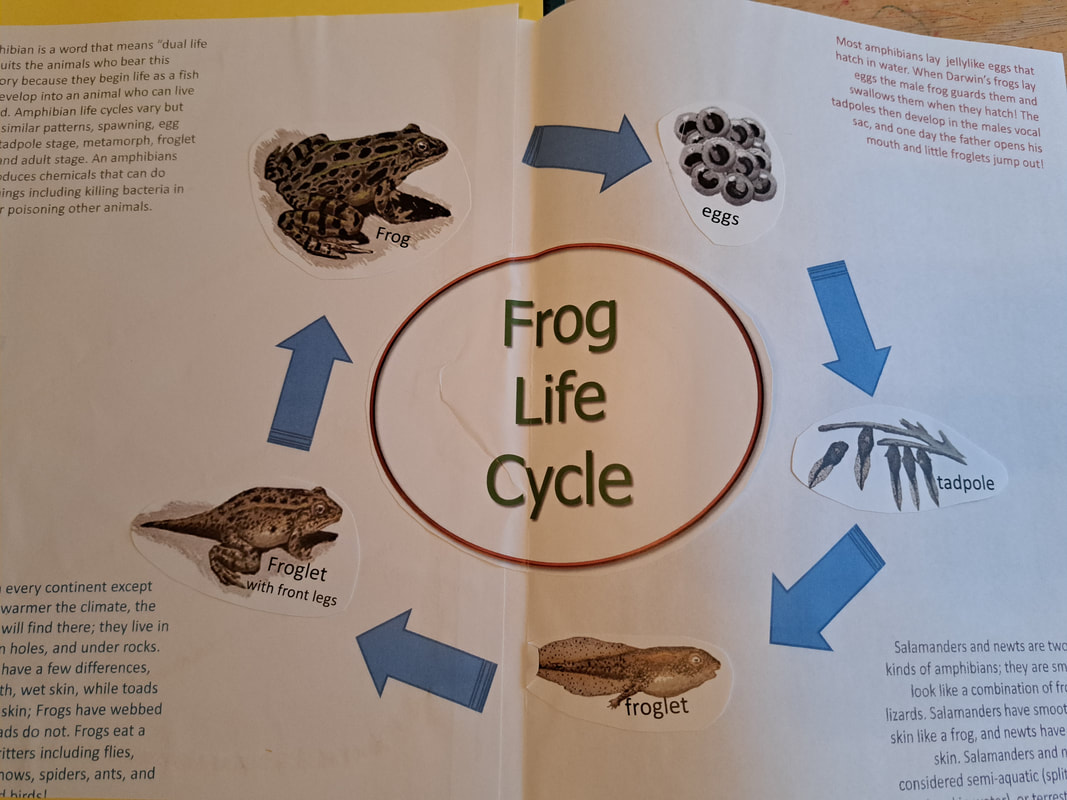
Right Side: We see a lot of frogs around our part of the country. The kids even remembered growing tadpoles into frogs during our Sea Creatures study.
|
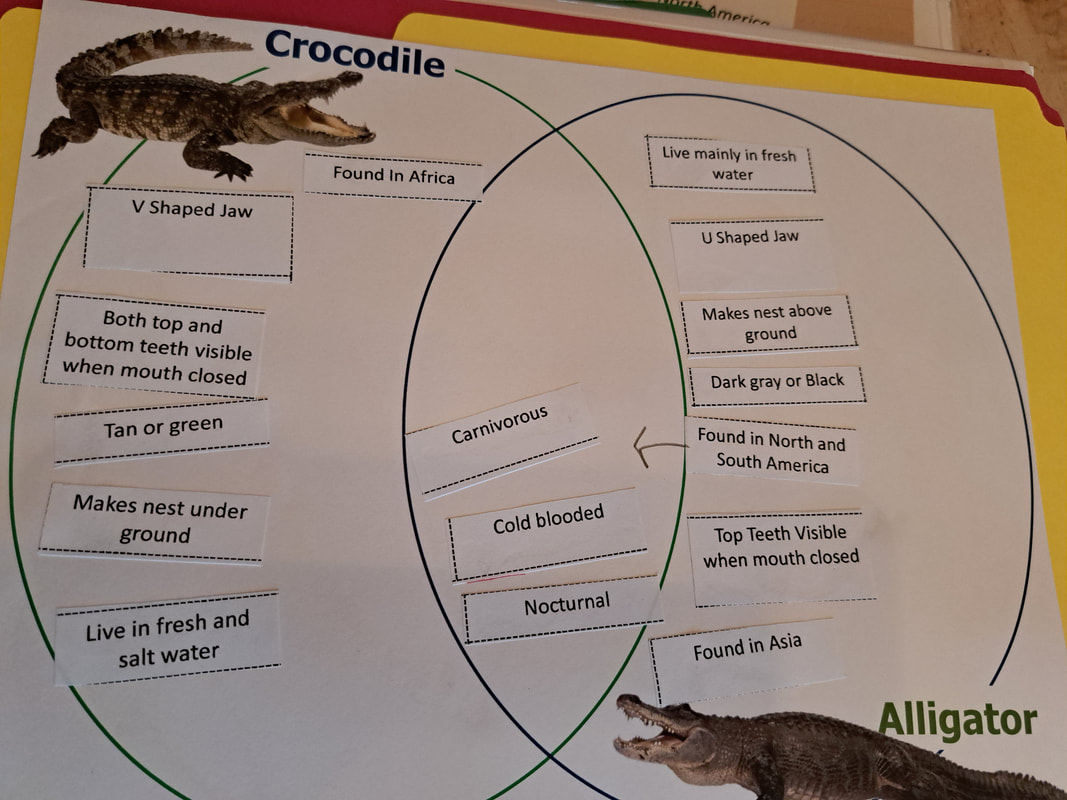
Left Side: This Venn diagram shows students the differences and similarities of the crocodile and alligator. We live in an area where neither can be found so it was eye opening for the younger kids to learn that there are some of these animals found in our country.
|
Module 12: Dinosaurs
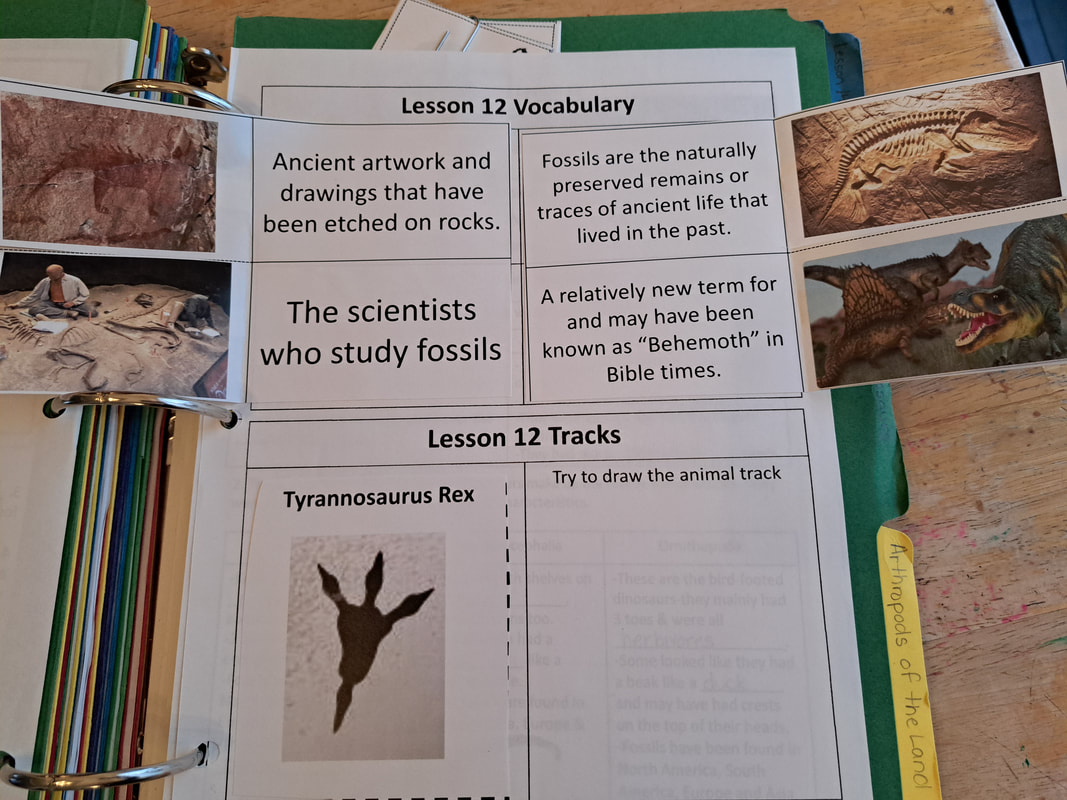
Vocabulary - Module 12
Folder Activity Pages - Module 12
|
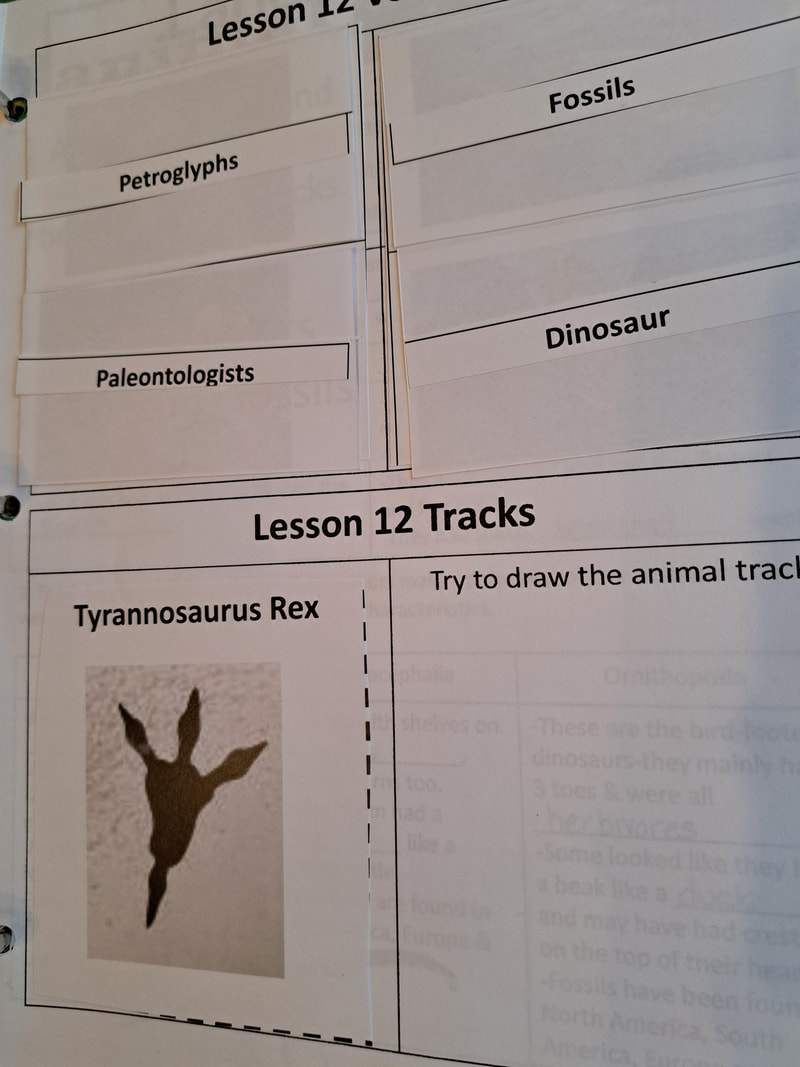
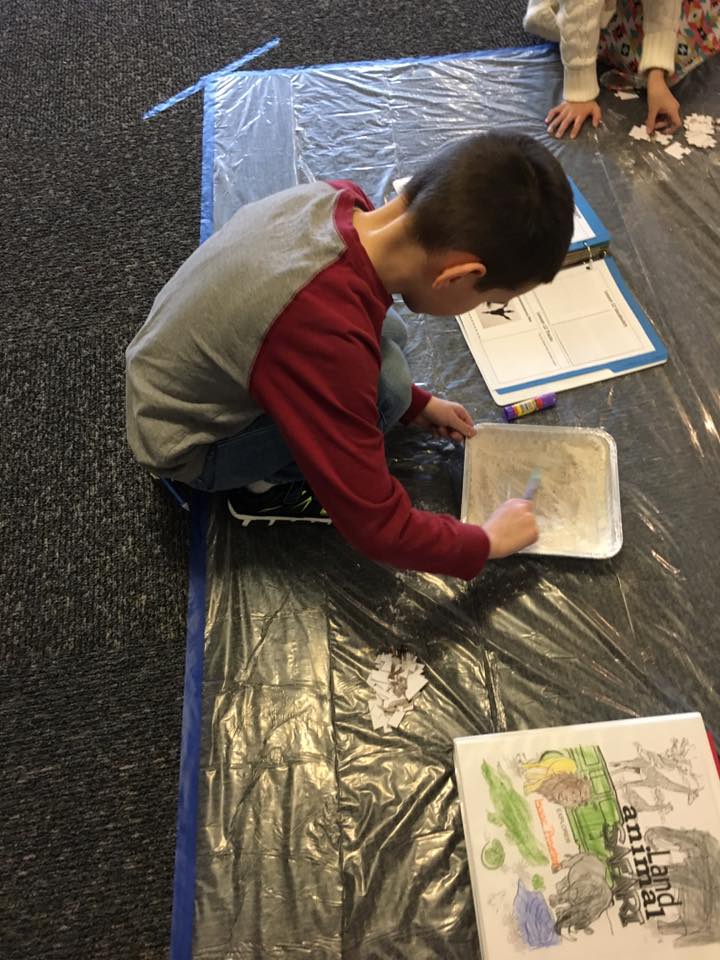
Left Side: PUZZLES...Who doesn't like a puzzle?! We cut out the dinosaur puzzle pieces and put each set into baggies. So each kid had a baggie with 1 puzzle worth of puzzle pieces. They could glue the final picture on the bottom of their file folder, and they were to math the picture by putting their pieces together at the top. Once they got it right, they could glue it down.
Right Side (below): We cut out dinosaur bone images and the dinosaur image and students were to match them next to the correct descriptions. I usually have the kids lay it out and try it first and we go over the answers all together before they glue them down. :) Who doesn't like studying dinosaurs! We even added an extra week for this lesson. Check out our bonus activity below! Also, you can get some amazing videos, books, and information from Answers in Genesis about dinosaurs!!! |
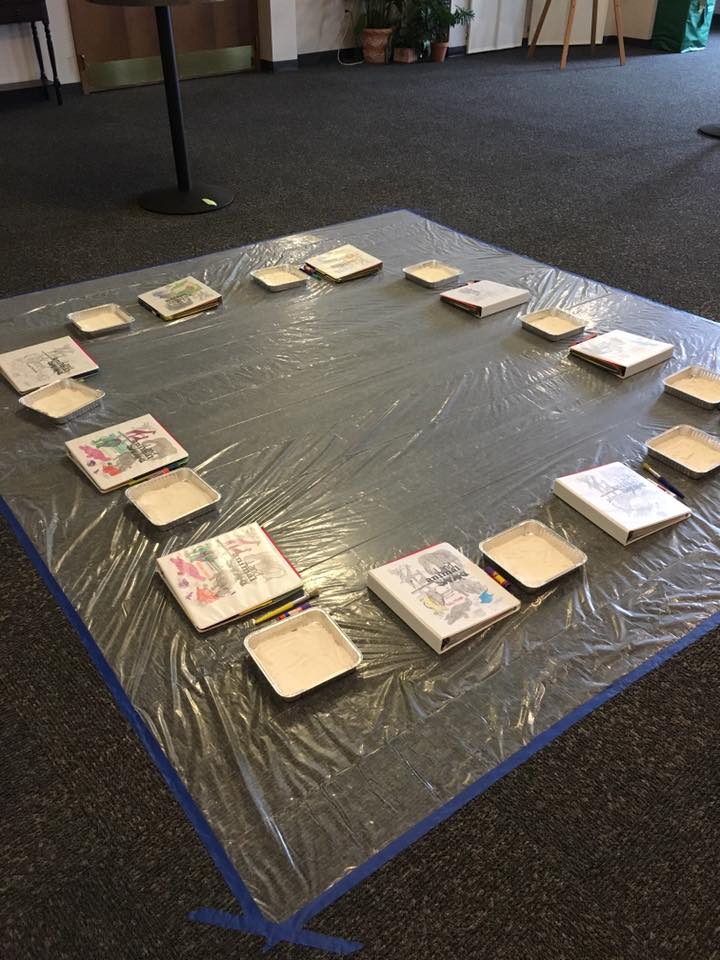
Bonus Activity - Fossil Dig Module 12
Module 13: Arthropods of the Land
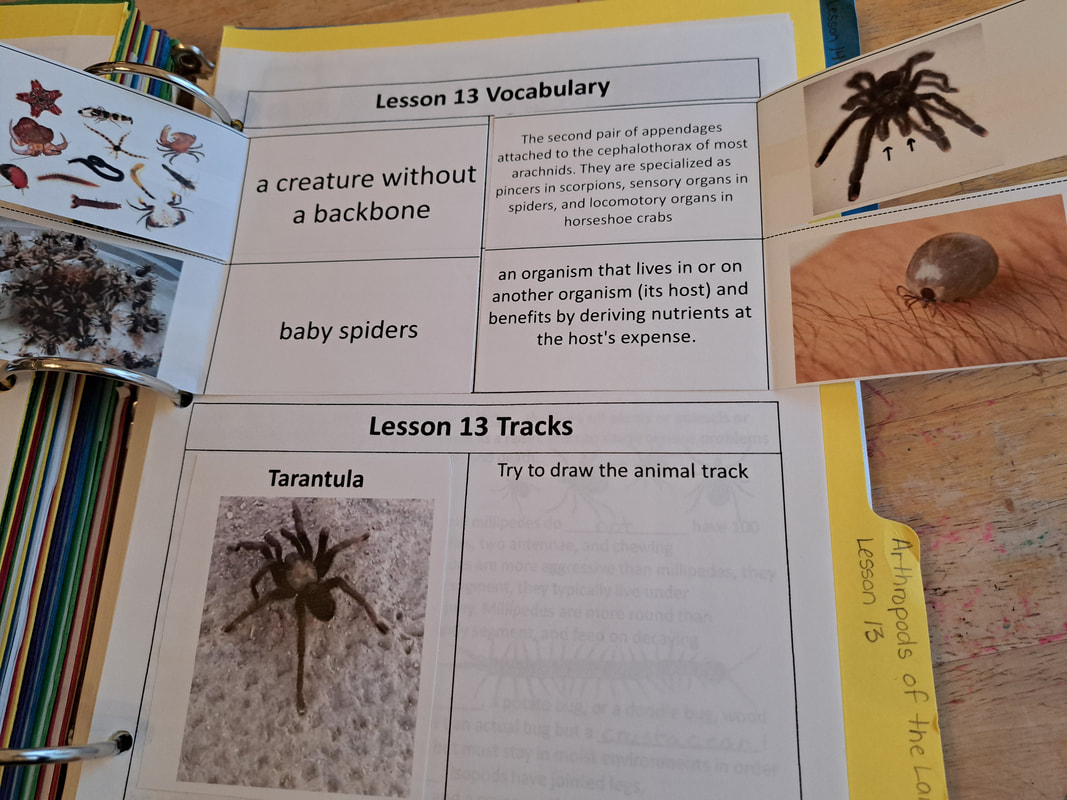
Vocabulary - Module 13
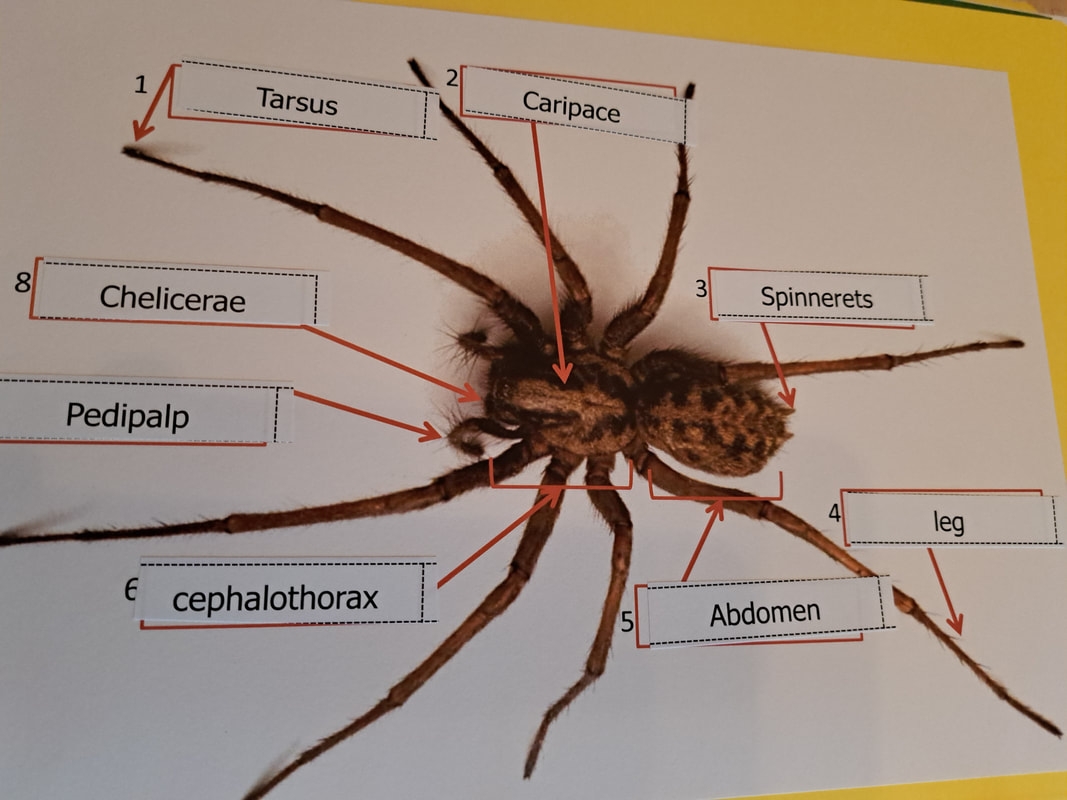
Folder Activity Pages - Module 13
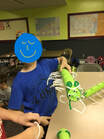
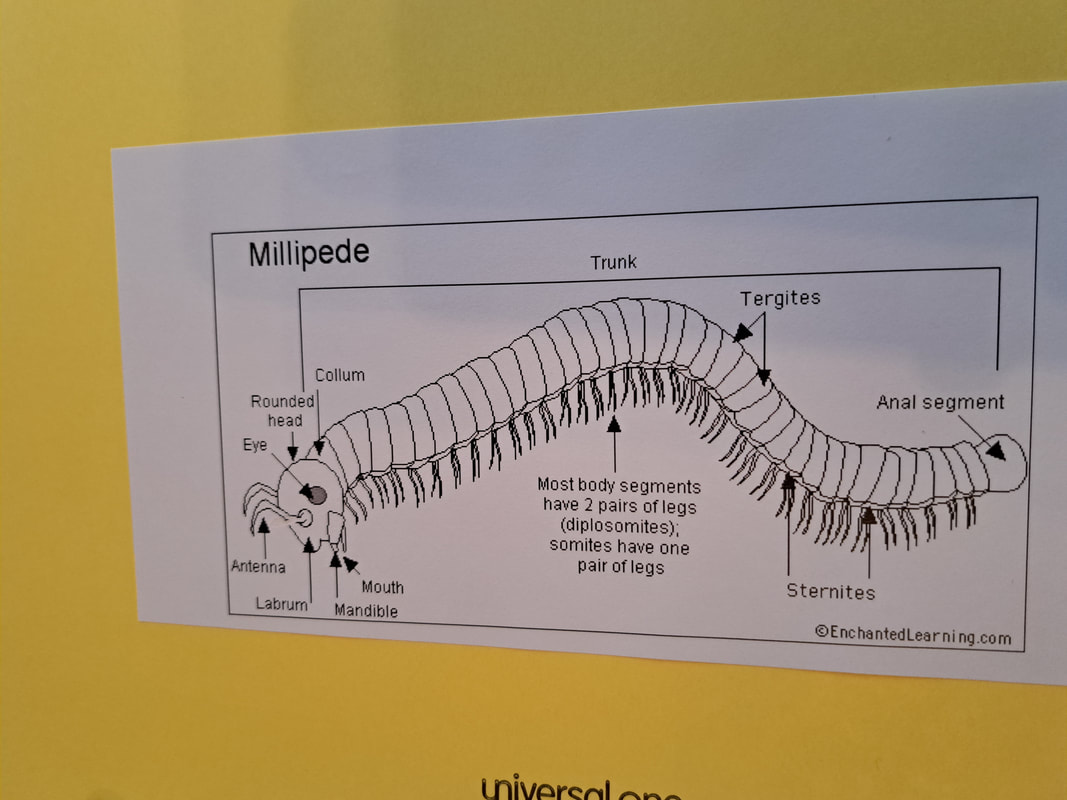
Another activity for Week 2 would be to make Millipedes out of cut up pool noodles. Each body segment got two sets of pipe cleaner legs as well. Great for the younger kids.
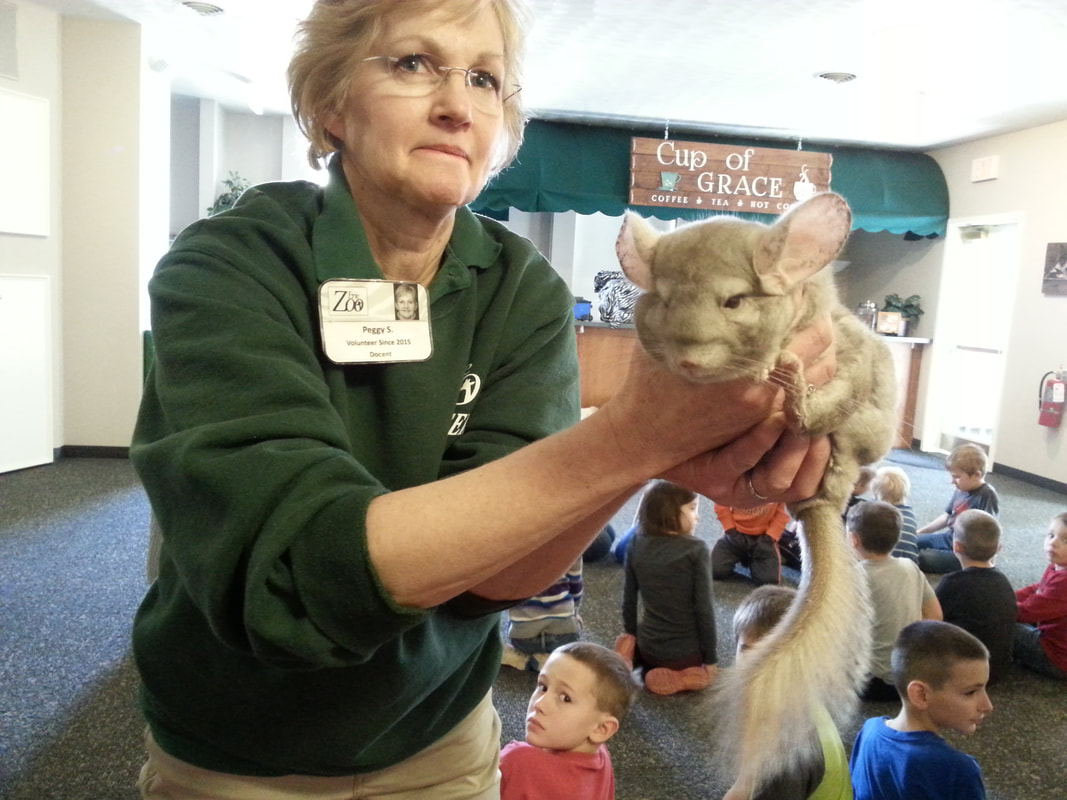
For our 2nd week, we actually had our local Traveling Zoo bring in some animals and do a hands-on presentation for all the kids at the co-op. It was amazing and the staff had such great information to share with the group.
Module 14: Arthropods of the Land
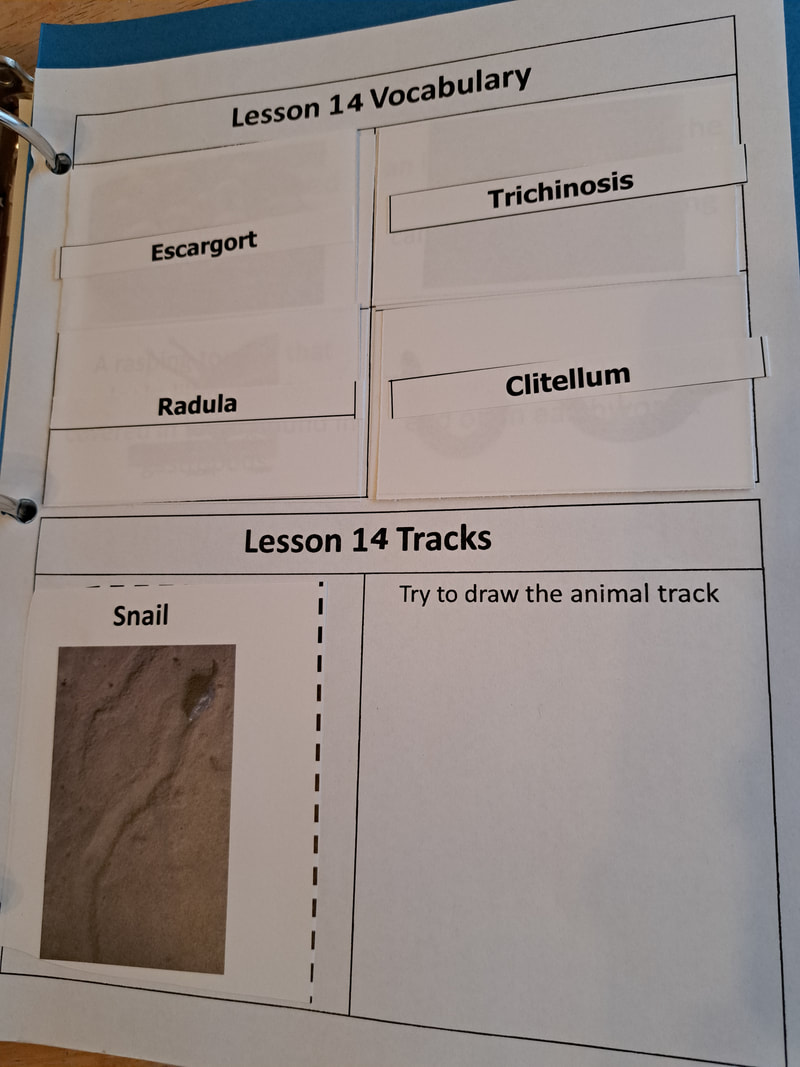
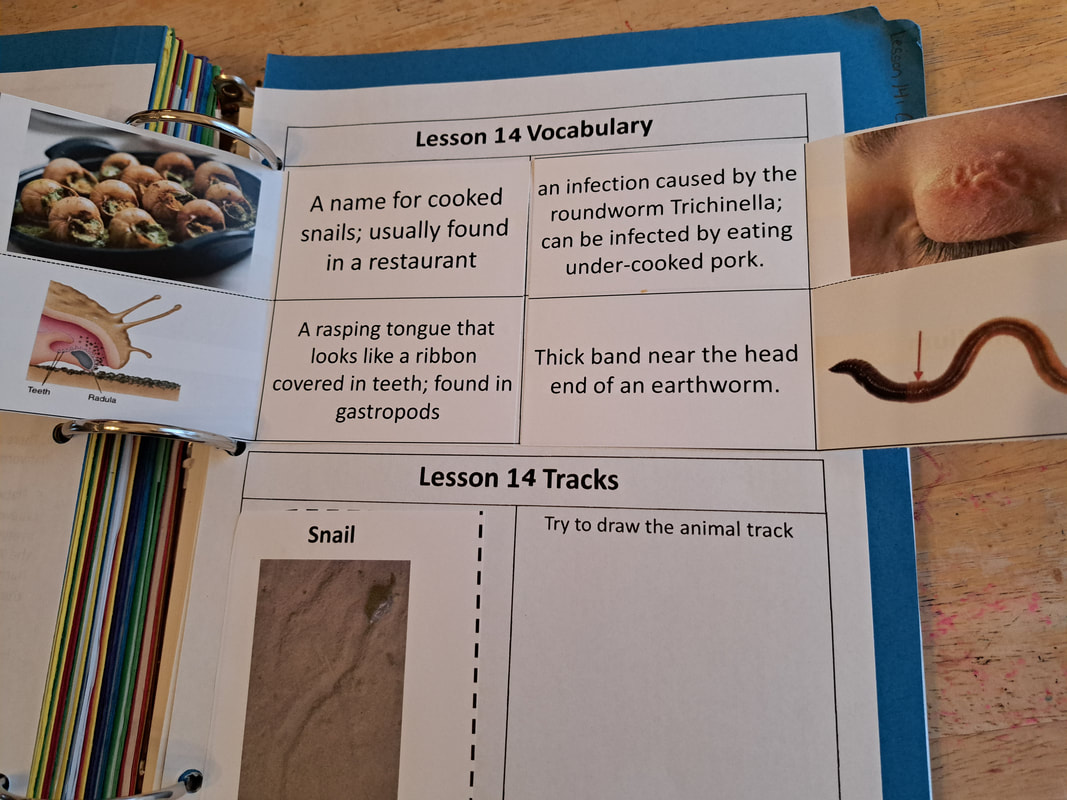
Vocabulary - Module 14
Folder Activity Pages - Module 14
|
With the short time we had, we spent most of class talking about and researching these two animals, the Earth Worm and Snail. The kids had to label their anatomy on these diagrams for our first folder activity.
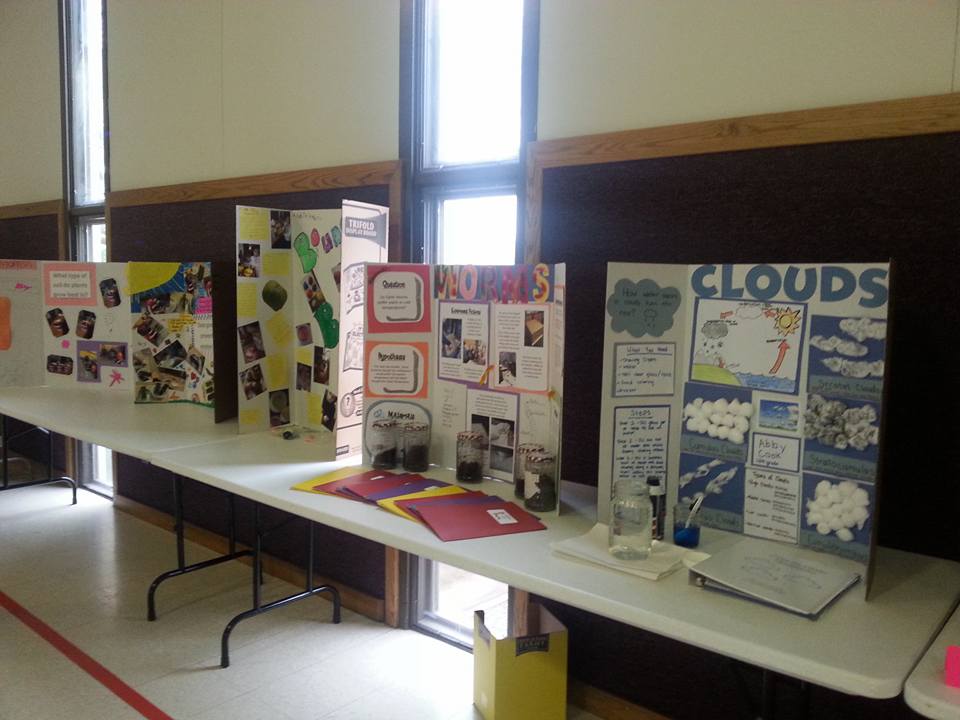
We brought in Snails and Earth Worms to class for the kids to touch and observe. Some of the classes also made worm farms and then donated them to a local farm or took them home. My class was working on a Science Fair project on Worms so they were busy getting books and writing down all the information for our Research Board. They had fun proving their hypothesis for their project. |
Bonus Activity - Science Fair
|
We had a Homeschool Co-op Science Fair and the kids all jumped in! Some kiddos did individual projects and presentations, and some classes did a group project. Our class did a research project on Worms!!! They even got creative during our research and studied different environments that worms can survice in and others that they cannot. The kids even decorated our research board with gummy worms. So fun! |
Check our Zoology 3 Page for other fun FREE ideas, games, or printables to help make your Science class the BEST ever.
MODULES 1 - 7 Notebooking Pages and Activities can be found here on our TpayT page.
MODULES 8 - 14 Notebooking Pages and Activities can be found here on our TpayT page.
You can also find all 14 Modules in our TpT store HERE.
